Thursday, March 28, 2013


THE DARING BAKERS’ MARCH, 2013 CHALLENGE: 

HIDDEN VEGGIES!

Ruth from Makey-Cakey was our March 2013 Daring Bakers’ challenge host. She encouraged us all to get experimental in the kitchen and sneak some hidden veggies into our baking, with surprising and delicious results!

I quite like these kind of challenges every now and then - where you don't have to stick rigidly to a  specific recipe but can put up some of your own favourites or research and try out something new.

First up I bought some sweet potatoes (kumara in New Zealand), cooked and mashed them  and baked them into some cookies (biscuits).


I have made sweet potato muffins many times so thought I'd try out cookies for the challenge.


 They turned out well but are not at all crunchy - more cake textured - but still taste good.They have raisins and peanuts added.

Second up I wanted to make something with green peas, so a look around the internet and I found these Sweet Pea and Ricotta cupcakes over at Cupcake Project - I left out the basil and made The Hummingbird Bakery's cream cheese frosting. You  do need to process the peas really well - better than I did - so they are not so visible.


This was a fun challenge - thanks Ruth - check out everyone else's efforts over at The Daring Kitchen


Saturday, March 2, 2013

What To Do With Leftover Muesli ?

Muesli Chocolate Chip Biscuits - Cookies


Had some muesli just sitting there, it had lost favour with the consumers of the household, the waste-not-want-not streak in me couldn't throw it away - so muesli cookies it was!

This is a simple recipe that makes about 28 cookies - kind of balanced as they contain muesli and wholemeal flour to offset the chocolate chips and sugar ! Kids will love them and can easily burn off the energy.
2 cups muesli
3/4 cup chocolate chips
1 cup whole wheat flour
1 teaspoon baking soda
1 teaspoon salt
115g (1/2 cup) butter, melted
3/4 cup light brown sugar
1 teaspoon vanilla extract
1 egg


Preheat oven to 180°C (375°F)

In a bowl, mix flour, baking soda, and salt. 

In a separate bowl, mix together butter, light brown sugar, and vanilla. Then mix in the egg.

Add flour mixture to the wet ingredients and mix well to combine. Stir in chocolate chips and muesli.

Shape into balls and place on a lightly greased baking tray or tray lined with baking paper. Bake for 10-12 minutes. 


Allow to cool on tray for a few minutes and then transfer to cooling rack.
Enjoy !


Monday, January 28, 2013


THE DARING BAKERS' JANUARY, 2013 CHALLENGE: 

GEVULDE SPECULAAS

Francijn of Koken in de Brouwerij was our January 2013 Daring Bakers’ Hostess and she challenged us to make the traditional Dutch pastry, Gevulde Speculaas from scratch! That includes making our own spice mix, almond paste and dough! Delicious!

Francijn gave us a really good history overview about the significance of the spice trade in relation to the Netherlands economy, the Baker's Guild and the creation of spice mixes and in particular Speculaas Spices.

Francijn told us the recipe was neither difficult nor time consuming but was delicious - and she was correct. Personally this was a great challenge being  at the hot time of our year - mid summer - not wanting to spend too long in the kitchen with the oven going.

This is a great recipe to have in my repertoire - easy but delicious - so easy to make our own almond paste.
 My Dutch friend visited while there was still some left and gave it the seal of approval - her Mum used to make speculaas and she said it was "just right" !


Thanks Francijn for a great recipe to keep,all your work on the challenge , individual feedback and helpful solutions to the bakers' questions.
Enjoyed by all !

You can find the recipe here at the Daring Bakers page.


Friday, November 9, 2012


Time to Make the Christmas Cake 
Keeping the Tradition


The first week in November is always special - ( along with the Melbourne Cup and Guy Fawkes) - time to bake my Christmas cake. Carrying on the tradition from my Mum , the first week in November was the time to bake the Christmas cake.
This is a very easy and economical recipe (post World War 2) a time  when ingredients were sometimes hard to come by - there is no spice in the original recipe but add some if you like - ground cinnamon, allspice, mixed spice and cloves are all good for a Christmas cake.
This cake isn't iced - but if you like the almond paste and white icing go for it! I just make a decorative pattern with whole blanched almonds.

It can be done in one day or can be done in stages over several days if you are pushed for time.

Note: the cake does take about three hours to cook. My Mum used to prepare the cake one day, leave overnight and bake it early the next morning when she knew she would be home for several hours. We would wake up to the gorgeous smell wafting through the house on Christmas cake baking day.

First prepare your tin:
I use a 20cm - square tin that is 9 cm deep - (8 inches square, 3 1/2 deep) 


Wrap your tin in newspaper - about 5-6 layers - tie with string - if you are not using the tin for anything else it will keep for years. Wrapping your tin ensures even heat distribution and that the outside edges of the cake don't become dried out. Some people say that with thermostatically controlled ovens this step is no longer necessary - but this is a tradition I like to hang on to.

Line the tin with a double layer of thick brown paper - the kind that old fashioned grocery bags are made of - whenever I get one of those bags I keep it "for the Christmas cake tin".

Next line with a double layer of baking paper.


Prepare the fruit:
I use a mixture of dried fruit, black raisins,sultanas, prunes, figs, glace cherries and mixed peel. Any combination of dried fruit will do - you can use already mixed dried fruit too.Chop the large fruit into small pieces and halve the cherries - mix.

Now pour some brandy or rum over the fruit and stir - I use about 1/3 cup. At this stage you could leave the fruit for several hours, days or up to a week (stirring occasionally).

Get your ingredients ready.

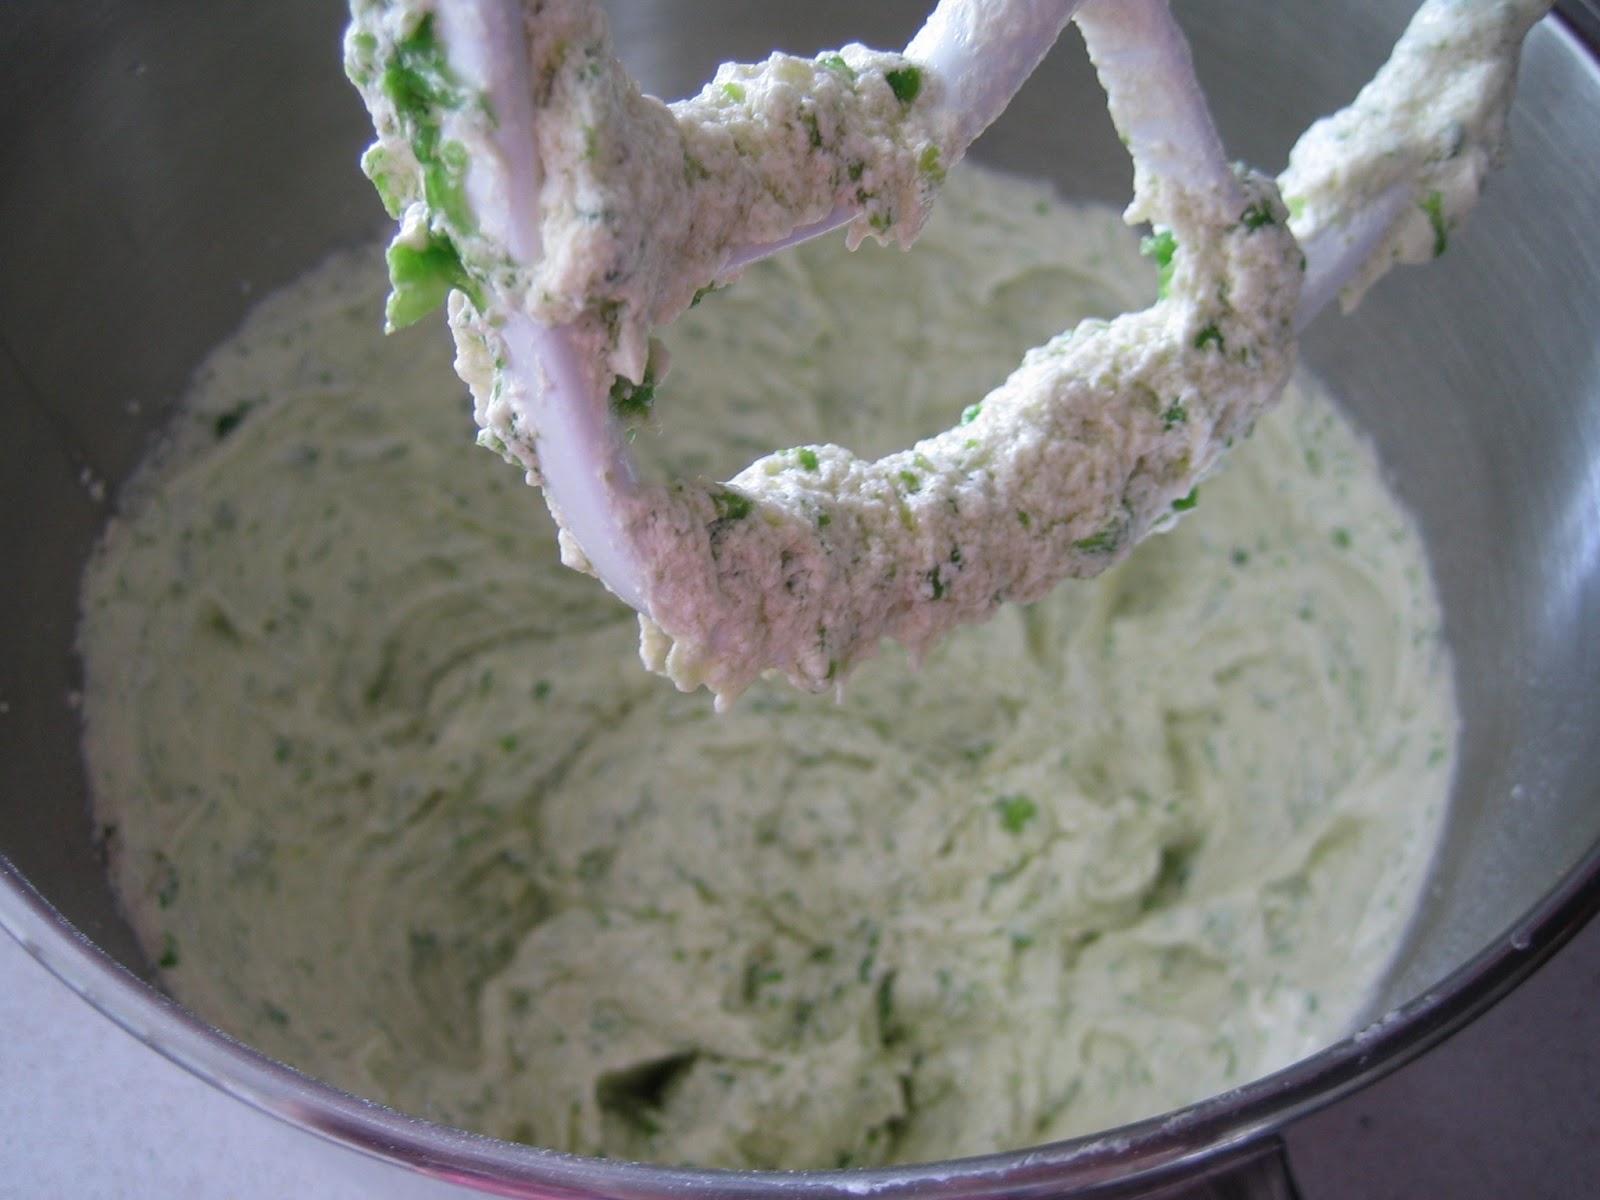
 Beat the butter until pale and creamy (New Zealand butter is very yellow!)

Add sugar and beat until pale and creamy too.Add the vanilla.


Add the egg yolks and beat.


 Add the fruit and stir in by hand so it doesn't become squashed - I use my own clean hands for this stage.Add flour and baking soda - stir or mix by hand again.

Lastly beat the egg whites until stiff and mix into the fruit batter - this lightens the mixture.

With a large spoon or spatula carefully put the mixture into the prepared tin.


Smooth the top with a spatula . Make a decorative pattern on the top with whole blanched almonds.
Cover the cake with a clean teatowel and leave to stand for at least 8 hours.
When you're ready to cook the cake pre-heat the oven to 275 degrees Fahrenheit or 135 degrees celsius. The cake cooks slowly to retain moisture.If the top is becoming very brown cover with a square of tinfoil for remainder of cooking time.
The original recipe says it takes 3 1/2 to 4 hours to cook but mine only takes about 2 1/2 to 3 hours.
Start testing your cake after about the first 1 1/2 hours - rotate the cake in the oven at this time too.Watch the top (see above)
Use a skewer or cake tester to check if the cake is cooked - test in the middle of the cake.

Remove the cake from the oven and wrap the whole tin in a towel to completely cover - this keeps the moisture in the cake. 
When the cake is completely cold ( overnight) remove from the tin and remove the layers of brown paper and leave one layer of white baking paper.

 The next step is the beginning of "feeding " the cake. You will need a pastry brush and about 2 tablespoons of alcohol of your choice.
With a cake tester , thin skewer or hat pin make holes all over the top of the cake.Only go 3/4 way down into the cake so that the alcohol doesn't run through the bottom!

Brush evenly with the alcohol until it is all used.

Place two pieces of tinfoil cross wise and two pieces of baking paper on top in the same way.

Wrap the cake so that it is sealed but so that the top of the foil and paper can be easily opened for "feeding" once a week until Christmas time. Store in a cool dark place - NOT in the refrigerator.


Once a week  feed the cake with 1-2 tablespoons of brandy or rum. If when you unwrap the cake it appears wet STOP ! Leave it for a few days and then see if it has soaked in. Don't make the cake soggy.

Anytime close to Christmas slice and enjoy !Between times keep the cake wrapped and in a large tin or container.

Ingredients:

Butter 10 ounces - 275 grams - at room temperature
Sugar  10 ounces - 275 grams
Eggs   6 - separated
Dried fruit 3 1/2 pounds - 1.6 kg
Flour - plain all purpose - 12 ounces - 350 grams
Baking soda - 1/2 teaspoon
Vanilla Essence pure - 1 teaspoon
Brandy or Rum - for soaking and feeding
Spices - optional - powdered - 2-3 teaspoons

The cake cut 7 weeks later on Christmas Day
Enjoy !


Friday, October 26, 2012


THE DARING BAKERS OCTOBER CHALLENGE: 

Layering Up: Mille-feuille/Napoleon

Our October 2012 Daring Bakers’ challenge was hosted by Suz of Serenely Full. Suz challenged us to not only to tackle buttery and flaky puff pastry, but then take it step further and create a sinfully delicious Mille Feuille dessert with it!


This is just the reason I joined the Daring Bakers, to make this kind of thing, the things I've looked at (and eaten) and always fancied making but thought they were really complicated.
These delicious slices are also known as Napoleons, and in New Zealand and Australia as custard squares, vanilla slices or pastry cream slices.
Here was my chance to make Mille-feuille ( say Meel Foy), starting off with making the puff pastry. Mille-feuille means a thousand leaves - all the layers of the pastry. Quite confusing really and nobody had the answer - because in Mille-feuille the pastry is compressed during cooking to prevent the layers from puffing up too much - so you don't see the layers ???
Making the pastry was time consuming  but not difficult and it had a 
wonderfully smooth texture - I'm going to make it again and use in a recipe where it puffs up, I'm expecting a good result.


Creme patisserie is spread between the pastry layers and topped with icing.


Melted chocolate is next and piped in lines along the top - this didn't have to be too precise, which suited me just fine.


The next part was just magic - I'd never researched making Mille - Feuille so always thought those swirly  arrows were amazingly intricate piping work - but all was to be revealed!


By simply lightly drawing a knife up and down alternately through the lines of chocolate those swirly arrows appear - this was my best part :) I never knew.


This was a thoroughly enjoyable challenge for me - Suz was a great host giving feedback to every one who shared their results during the month - thanks Suz for a great challenge.

Recipe and step by step instructions can be found here .